


In this article, I will try to explain in simple words how to perform a Kubernetes Cluster node out for Maintenance.
Performing node maintenance is a standard task which needs to be done periodically. Sometimes taking the node out of a Cluster and joining it back into the Cluster can become tricky. You just need to follow straightforward some basic steps to perform it without traffic or outage issues.
Let's quickly go through our lab setup.
▶Lab Setup
We are having one worker node called node-1 and one master called master in our Kubernetes Cluster. We are having three test pods currently running on node-1 and no pods running on master.
We will take the node node-1 out of the Kubernetes Cluster for maintenance and then joined it back once the maintenance is completed. It is important to ensure that when we take the node out, all its load should be transferred to the master without any disturbances.
▶How to take a Kubernetes Cluster node out for Maintenance
Step 1: Check all the Pods
First, let's verify all the pods are running fine by using kubectl get pods -o wide command. This command will show detailed output which includes the pod status, node on which it is running, number of restarts, IP etc.
root@master:~$ kubectl get pods -o wide

Step 2: Verify all the Nodes
The next step is to verify the health of the nodes by using kubectl get nodes. This should show the node status as Ready. If any of the nodes say otherwise, then first you need to fix the node status before proceeding with the next step.
root@master:~$ kubectl get nodes

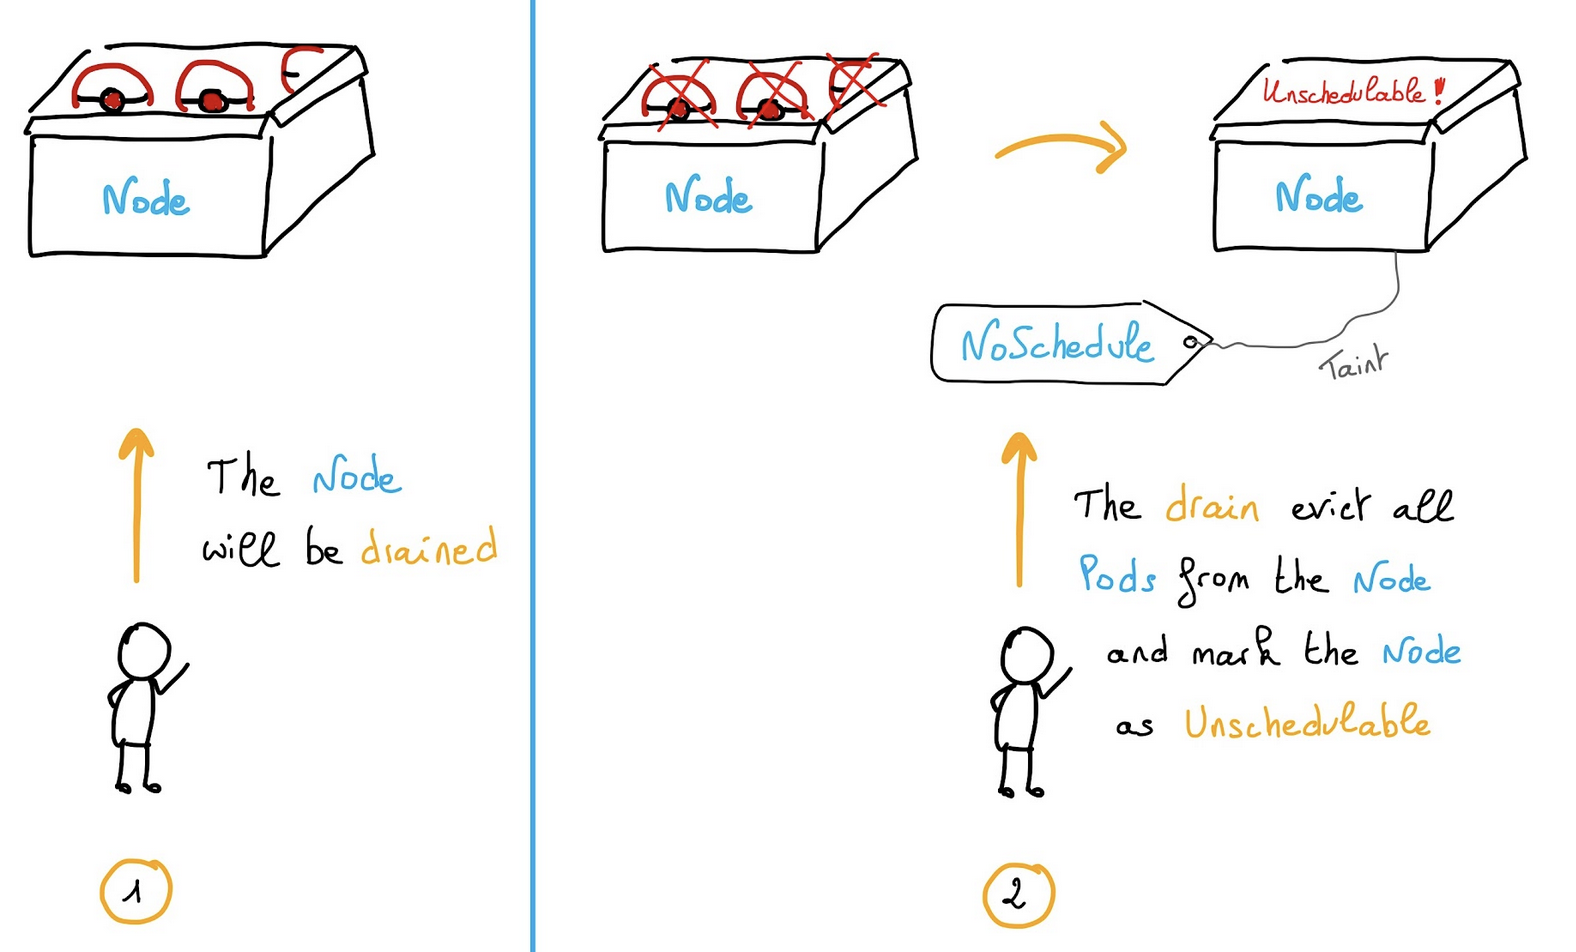
Step 3: Drain out the Node
Now you can move ahead with the maintenance and drain out first node-1 using kubectl drain node-1 command as shown below. The idea of drain out is to make sure all the loads node-1 get transferred to another available node in the Cluster. In our case, since we have only two nodes i.e master and node-1 so in a successful drain out all the loads node-1 should get transferred to master. If you face the same error below, it seems this is unable to drain the node node-1then you need to add one more option i.e --ignore-daemonsets to get through this.
If there are daemon set-managed pods, the drain will not proceed without --ignore-daemonsets, and regardless it will not delete any daemon set-managed pods, because those pods would be immediately replaced by the daemon set controller, which ignores unschedulable markings. More on Kubernetes official documentation.
root@master:~$ kubectl drain node-1

So now you have to run kubectl drain node-1 --ignore-daemonsets command as shown below. This will mark the node unschedulable to prevent new pods from arriving. You have to wait till all the pods get evicted.
root@master:~$ kubectl drain node-1 --ignore-daemonsets

Step 4: Verify all the apps
Verify if all the pods got transferred to master by using kubectl get pods -o wide command. Then you can see that indeed it is transferred and running fine. So this confirms that node-1 has been successfully unscheduled from running any apps. Now you can proceed with the maintenance of node node-1.
root@master:~$ kubectl get pods -o wide

Step 5: Schedule the Node
After maintenance is completed, we need to make the node schedulable again by bringing it back to the cluster using kubectl uncordon node-1 command as shown below.
root@master:~$ kubectl uncordon node-1


Step 6: Verify the Cluster
To verify if the node is back in cluster, you can run kubectl get nodes command. If you see the status as Ready then it confirms that node-1 successfully scheduled for arriving pods.

Step 7: Verify Pods Status -
But here is another interesting output you can notice when you run kubectl get pods -o wide command again. You can notice that currently there are no pods running on node-1 even after the node has been successfully joined back. Well, it is simply because we had removed this node for maintenance and now it will only schedule when a new pod arrives.

Another interesting point you might think is why all the pods were placed on master when node-1 was taken out for maintenance. Well, it is simply because master node did not have any taint. This you can verify by grepping the taint keyword from kubectl describe nodes master command as shown below.
root@master:~$ kubectl describe nodes master | grep -i taint

▶What is a taint in Kubernetes?
Taints are a Kubernetes node property that enable nodes to repel certain pods. Tolerations are a Kubernetes pod property that allows a pod to be scheduled on a node with a matching taint. Let's use an example to demonstrate the benefits of taints and tolerations.
This was a simple overview of Kubernetes Cluster Maintenance, and desire it is helpful for your knowledge.