

Getting Started with Jenkins for DevOps Engineers
#90DaysofDevOps Challenge - Day 22


▶What is Jenkins?
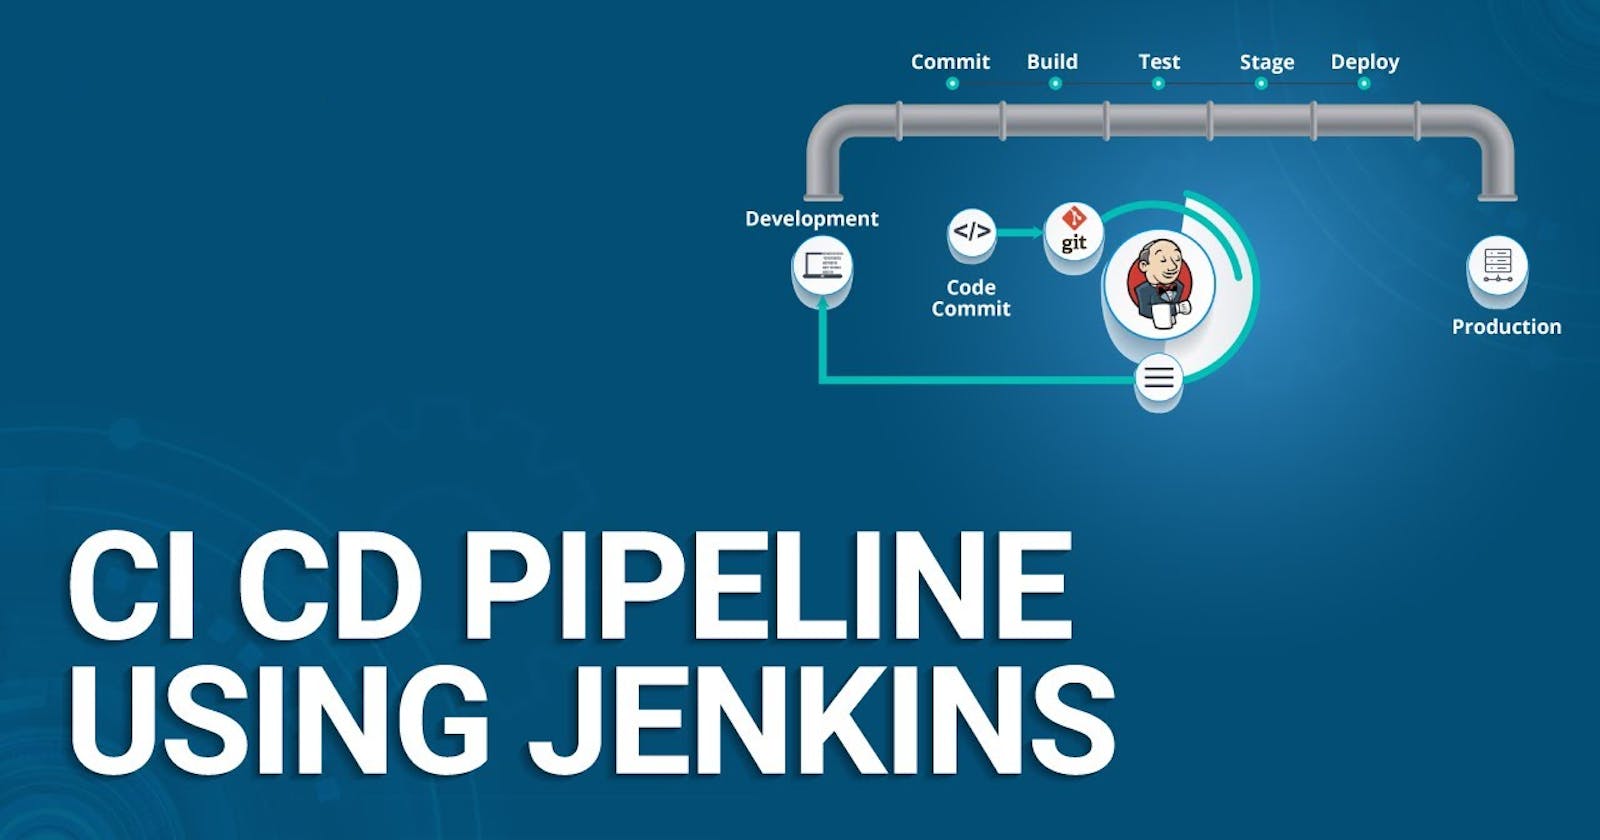
Jenkins is an open-source Continuous Integration/Continuous Delivery and Deployment (CI/CD) automation software DevOps tool written in the Java programming language. It is used to implement CI/CD workflows, called Pipelines.
Pipelines automate testing and reporting on isolated changes in a larger code base in real time and facilitate the integration of disparate branches of the code into a main branch.
They also rapidly detect defects in a code base, build the software, automate testing of their builds, prepare the code base for deployment (delivery), and ultimately deploy code to containers and virtual machines, as well as bare metal and cloud servers.
▶What is Jenkins Pipeline?
The Jenkins Pipeline is a user-made model for the continuous delivery pipeline. The Pipeline incorporates various plugins that help define procedure steps from version control to the users.
All software changes and commits have a method including three major steps:
Automated building.
Multi-step testing.
Deploying procedures.
In Jenkins, there are two ways to create a pipeline:
Define the Pipeline through the user interface directly.
Use the Pipeline as Code methodology and create a Jenkinsfile. The text file uses Groovy-compatible syntax to define the pipeline process.
The Jenkinsfile syntax is either declarative or scripted*.*
A basic declarative Jenkinsfile pipeline is simpler to understand. An example looks like the following:
pipeline {
    agent any
    stages {
        stage('Build') {
            steps {
                echo 'Building…'
            }
        }
        stage('Test') {
            steps {
                echo 'Testing…'
            }
        }
        stage('Deploy') {
            steps {
                echo 'Deploying...'
            }
        }
    }
}
The code has the following elements:
The mandatory
pipeline { }block invokes the Jenkins Pipeline plugin.The keyword
agentdefines where the Pipeline runs, whereanyindicates the Pipeline runs on any available agent.The
stages { }block represents the sequence in which the Pipeline runs.The code contains three stages:
Build,TestandDeploy, each with its respectivesteps { }.The
steps { }tell Jenkins what to do at a particular point.
The scripted equivalent of the Jenkinsfile looks like the following:
node {
    stage('Build') {
        echo 'Building…'
    }
    stage('Test') {
        echo 'Testing…'
    }
    stage('Deploy') {
        echo 'Deploying…'
    }
}
▶Continuous Integration(CI)
Continuous integration is a software development procedure where each applied change invokes an automated build test. The process ensures the code integrates into a working executable form without bugs.
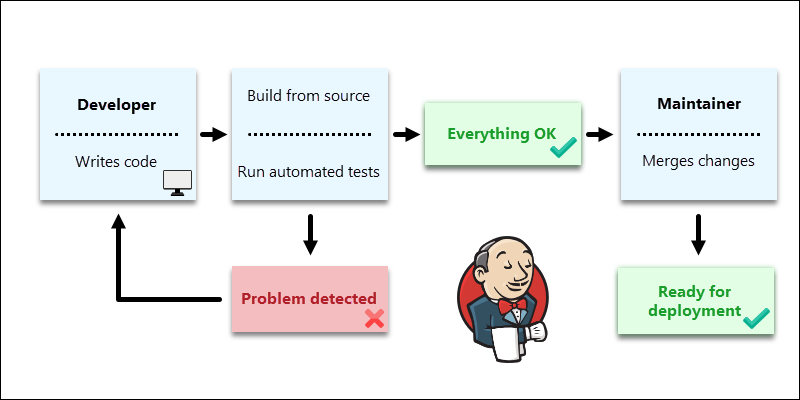
Continuous integration is an essential aspect in environments with multiple developers. Each developer makes changes to the code, and each change has potential issues.
A continuous integration tool such as Jenkins helps test, identify, and address problems before applying changes to production.
▶Continuous Delivery (CD)
Continuous delivery (CD) is an extension of CI. It involves speeding up the release process by encouraging developers to release code to production in incremental chunks.
To take full advantage of Continuous Delivery*, deploy code updates as often as possible. The release frequency depends on the workflow, but it's usually daily, weekly, or monthly. Releasing code in smaller chunks is much easier to troubleshoot compared to releasing all changes at once. As a result, you avoid bottlenecks and merge conflicts, thus maintaining a steady, **Continuous Integration pipeline** flow.*
▶Continuous Deployment (CD)
Continuous Delivery and Continuous Deployment are similar in many ways, but there are critical differences between the two.
While Continuous Delivery enables development teams to deploy software, features, and code updates manually, Continuous Deployment is all about automating the entire release cycle.
At the Continuous Deployment stage, code updates are released automatically to the end user without any manual interventions. However, implementing an Automated release strategy can be dangerous. If it fails to mitigate all errors detected along the way, bad code will get deployed to production. In the worst-case scenario, this may cause the application to break or users to experience downtime.
Automated Deployments should only be used when releasing minor code updates. In case something goes wrong, you can roll back the changes without causing the app to malfunction.
Leveraging the full potential of Continuous Deployment involves having robust testing frameworks that ensure the new code is truly error-free and ready to be immediately deployed to production.
▶Task
To create a freestyle pipeline to print "Hello World!!"
Step 1 - Install and config Jenkins Server
You can go through this link to know and understand how to do it.
Step 2 - After installation, go to log in on the Jenkins dashboard.

Step 3 - On the dashboard view, click on "New Item".

Step 4 - Enter an item name and choose "Pipeline" by clicking on the Ok button.

Step 5 - Here, we are creating a simple Demo of Jenkins Pipeline without any integration, for example, with Git. So, you can add a Description on the General field and scroll down until "Pipeline" adding the script below by clicking in Save.
pipeline {
    agent any
    stages {
        stage('First Stage') {
            steps {
                echo 'Hello World'
            }
        }
        stage('Second Stage') {
            steps {
                echo 'Hello Again'
                echo 'A third time Hello'
            }
        }
    }
}


Step 6 - Return to the dashboard, select your item previously created and click on the "Run" button to execute the Pipeline.

Step 7 - Click "Build Now" in the project window to make sure that the build works. Jenkins will now build your project.
Click on "Build History" to view the build results.
Click on the "Console Output" to view the build logs in each stage.

This was a simple overview of how to create a Jenkins Pipeline. I hope it is helpful to you.