


CI/CD Hands-On Project
CI/CD hands-on project from the Free SRE/DevOps 30 days Bootcamp3


Table of contents
📝Introduction
In this post, we will cover a CI/CD hands-on project using tools like GitHub, Jenkins, Maven, Docker, Ansible, and EKS under the AWS infrastructure part of FREE DevOps/SRE BootCamp3 guided by praveen sigampalli.
📝Hands-on (Step-by-step)
1 - Log in to the AWS Console with an IAM user(for secure access) and attach an Administrator Access role to it.
2 - Create a T2 Medium instance with Ubuntu AMI OS version at an AZ as your preference. In this hands-on, we choose eu-west-3.
The use of this type of instance will charge you, and it will depend on how long you use it, so you do not forget to delete all resources at the end of this hands-on.
3 - Install JDK on AWS EC2 Instance:
 sudo apt-get update
 sudo apt install openjdk-11-jre-headless -y
 java --version
4 - Install and Setup Jenkins:
To install Jenkins, please, use the commands below:
curl -fsSL https://pkg.jenkins.io/debian-stable/jenkins.io-2023.key | sudo tee \
  /usr/share/keyrings/jenkins-keyring.asc > /dev/null
echo deb [signed-by=/usr/share/keyrings/jenkins-keyring.asc] \
  https://pkg.jenkins.io/debian-stable binary/ | sudo tee \
  /etc/apt/sources.list.d/jenkins.list > /dev/null
sudo apt-get update
sudo apt-get install jenkins
sudo systemctl status jenkins
To set up Jenkins, please, follow up the steps below:
Before Unlocking Jenkins, you must create an SG(Security Group) allowing your EC2 instance to access port 8080.
Go to AWS EC2 dashboard-> Network Security->Security Groups

Select Create Security Group

Add a name to your SG, confirm if you have the correct VPC associated, select Inbound rules and add the parameters:

Type - Custom TCP
Port range - 8080
Source - 0.0.0.0
It will allow you to open your Jenkins URL on your web browser.
http://<EC2_PublicIP>:8080/
When you first access a new Jenkins instance, you are asked to unlock it using an automatically-generated password.
Browse to
http://localhost:8080(or whichever port you configured for Jenkins when installing it) and wait until the Unlock Jenkins page appears.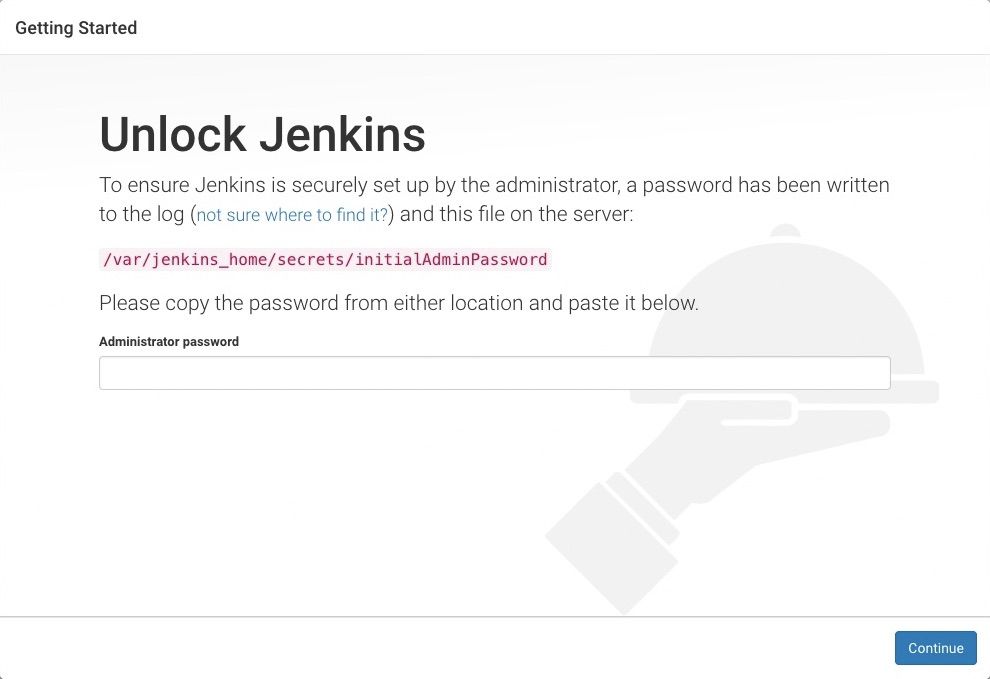
To get the Administrator password for the first login, copy the automatically-generated alphanumeric password using the command:
sudo cat /var/lib/jenkins/secrets/initialAdminPasswordNote: It will print the password at the console. On the Unlock Jenkins page, paste this password into the Administrator password field and click Continue.
5 - After completing the installation of the suggested plugin you need to set the First Admin User for Jenkins.

6 - Now, let's update the visudo file and assign administrative privileges to the Jenkins user.
Open the file /etc/sudoers in vi mode and add the following line at the end of the Jenkins file.
sudo vi /etc/sudoers

ALL=(ALL) NOPASSWD: ALL
Save and quit from the file. You can use Jenkins as the root user and then run the below command to change the user.

sudo su - jenkins
From now on, all other steps must be executed with the Jenkins user.
7 - Install Docker
sudo apt install docker.io
docker --version
docker ps
sudo usermod -aG docker jenkins
sudo reboot
8 - Install and Setup AWS CLI and EKS
AWS CLI
sudo apt-get update
sudo apt-get install awscli -y
aws --version
EKS
curl --silent --location "https://github.com/weaveworks/eksctl/releases/latest/download/eksctl_$(uname -s)_amd64.tar.gz" | tar xz -C /tmp
sudo mv /tmp/eksctl /usr/local/bin
eksctl version

9 - Configure the AWS CLI so that it can authenticate and communicate with the AWS environment.
aws configure
Requesting to set your existing keys, however, if you have not created your Access key and Secret key yet, just go to the IAM dashboard-> users-> select the respective user-> Create access key, and save it in a secure place.
Use this generated key to set the configs below:
10 - Install and Setup Kubectl
Install
sudo curl -LO ttps://storage.googleapis.com/kubernetes-release/release/v1.23.6/bin/linux/amd64/kubectl
sudo chmod +x ./kubectl
sudo mv ./kubectl /usr/local/bin/kubectl
11 - It's time to create our Amazon EKS cluster using eksctl commands:
First of all and the main thing is to attach an IAM role to your EC2 instance as AdministratorAccess.
To create the new role, go to IAM dashboard-> Roles-> Create role-> Tursted entity type-> AWS service-> EC2-> Next-> Add permissions-> select AdministratorAccess-> Next-> Role name-> Create role


Attaching the new IAM role to your EC2 instance. Go to the EC2 dashboard, select your instance-> Actions -> Security-> Modify IAM role then choose your new IAM role and update it.


Start the creation of the EKS cluster and it will take 10-20 MIN to be completed.
eksctl create cluster --name=cicd-eks-cluster --version=1.24 --region=eu-west-3 --nodegroup-name=workernodes --node-type=t2.micro --nodes=2
Note: Be aware to change the name and region as your preference.


12 - Add Docker and GitHub Credentials on Jenkins
Go to Jenkins Dashboard-> Manage Jenkins-> Credentials-> System-> Global credentials

Add your credentials from GitHub and Docker.
13 - Add Maven configuration
Go to Jenkins dashboard -> Manage Jenkins-> Tools-> Maven
On the Maven option, set the name=maven3 and set the version=3.9.1, and save the config.

14 - Add Jenkins Shared Library
Go to Jenkins dashboard-> Manage Jenkins-> SysteM-> Global Pipeline Libraries
Set the Name=jenkins-shared-library, Default version=main add the Git Project Repo (link) and save the config.

15 - Build, deploy and test CI/CD Pipeline
Go to Jenkins dashboard-> + Item, select Pipeline option, add a name and press OK to create a new job.


On the Pipeline Script option, add the following script (link).

16 - To install and set up Ansible Python
sudo apt update
sudo apt install software-properties-common -y
sudo add-apt-repository --yes --update
ppa:ansible/ansible
sudo apt install ansible -y
sudo apt install python3 -y
sudo apt install python3-pip -y
pip3 install Kubernetes
17 - Start the Build on Jenkins
Use the option Build with Parameters, and set these parameters:
Action - create
ImageName - kubernetes-configmap-reload
ImageTag - v1
AppName - kubernetes-configmap-reload
Docker_repo - Your Docker Hub account ID

If the Build fails, check on the job Console Output and try to fix the issue.

If everything is set properly, it will PASS and be completed with Success.

18 - Create a Jenkins GitHub Webhook
It is used to trigger the action whenever any change is done to the code and it can automatically compile or deploy applications if there are no errors detected.
First of all, fork the GitHub repo (link) then go to the Settings of your new repo and select Add Webhooks.
Remember to use the main URL of your Jenkins server add to the end /github-webhook/ choosing Content Type=application/json and save.

To finish go to Jenkins dashboard-> <your_project_name>-> General and select the GitHub hook trigger option.

Make any changes to your code and check if Webhook worked triggering and starting the Build.
19 - Delete all resources
Please, do not forget to delete all the resources created on AWS to avoid being charged more than you have used.
eksctl delete cluster --name=<name-your-eks-cluster> --region=<your-region>
Thank you for reading. I hope you were able to understand and learn something helpful from my blog.
Please follow me on Hashnode and on LinkedIn franciscojblsouza