


Azure Hands-On Labs - Creating Your First PowerShell Script Using PowerShell Core
Azure Learning Path for Cloud and DevOps Engineers


📝Introduction
This post demonstrates this hands-on lab, where we walk through creating a PowerShell script that outputs process information to a CSV file.
You will have to use the appropriate PowerShell commands to filter the processes that are consuming more than 8 MB of memory. Additionally, you will be required to output only the WorkingSet and ProcessName columns to the CSV file. Once you've created the CSV file, you can view the contents using the Get-Contentcmdlet.
📝Log in to the Azure Management Console
Using your credentials, make sure you're using the right Region. In my case, I am using east-us.
📌Note: You can also use the VSCode tool or from your local PowerShell to connect to Azure PowerShell
More information on how to set up it is on the link.
📝Prerequisites:
Update to PowerShell 5.1, if needed.
Install .NET Framework 4.7.2 or later.
Visual Code
Web Browser (Chrome, Edge)
📝Setting an Azure Storage Account to Load PowerShell
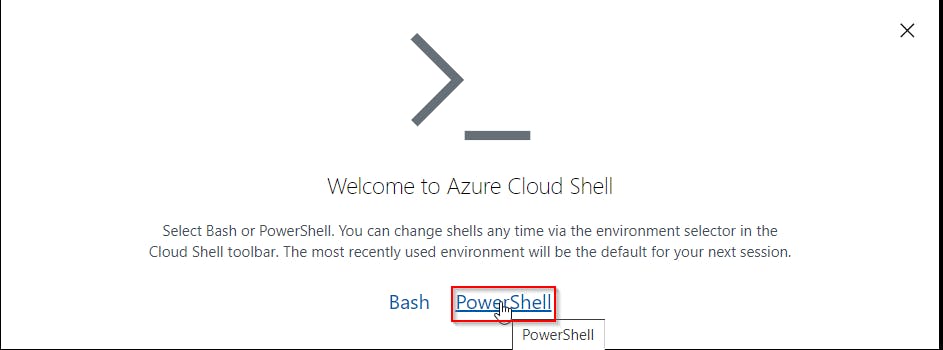
- Click the Cloud Shell icon
(>_)at the top of the page.

- Click PowerShell.
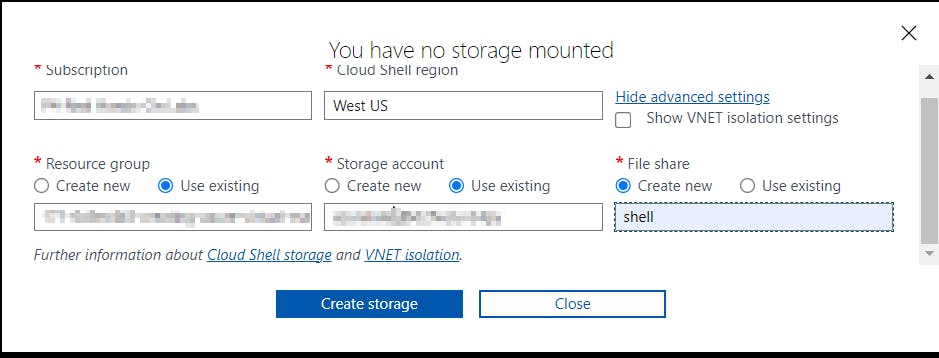
- Click Show Advanced Settings. Use the combo box under Cloud Shell region to select the Region. Under Resource Group and Storage account(It's a globally unique name), enter a name for both. In the box under File Share, enter a name. Click ***Create storage (***if you don't have any yet).
📝Connect to a Linux VM and Create the File
Open a terminal session and log in to the VM using the credentials provided:
ssh <user_name>@<PUBLIC_IP>
Start a PowerShell session:
pwsh

📌Note: When copying and pasting code into Vim from the lab guide, first type :set paste to avoid adding unnecessary spaces and hashes.
📝Create the PowerShell Script
In the processinfo.ps1 file, enter:
$ps = Get-Process

$psinfo = $ps | Where-Object {$_.WorkingSet -gt 8mb} | Sort-Object WorkingSet |
Format-Table -Property WorkingSet, CPU, ProcessName

$psinfo | out-file ./processinfo.csv
#Save and quit by pressing Escape followed by :wq!.
📝Run the Script and Verify the Contents
Run the PowerShell script:
./processinfo.ps1
#Make sure the file is there:
dir
Open the file:
Get-Content ./processinfo.csv

📌Note - At the end of each hands-on Lab, always clean up all the resources previously created to avoid being charged.
Congratulations — you have completed this hands-on lab covering the basics of Creating Your First PowerShell Script in Azure with the PowerShell tool.
Thank you for reading. I hope you understood and learned something helpful from my blog.
Please follow me on CloudDevOpsToLearn and LinkedIn, franciscojblsouza