

Azure Hands-On Lab - Building a K8s Cluster in Azure VMs using Terraform
Azure Learning Path for Cloud and DevOps Engineers


Table of contents
- 📝Introduction
- 📝Log in to the Azure Management Console
- 📝Prerequisites:
- 📝Setting an Azure Storage Account to Load PowerShell
- 📝Set Up Terraform Environment
- 📝Prepare Terraform Configuration Files
- 📝Initialize Terraform
- 📝Access Instances
- 📝Building K8s Cluster
- 📝Adding Workers nodes to the Cluster
- 📝Checking some Cluster statuses
📝Introduction
This hands-on lab, where we walk through setting up 3 Azure VMs to build a K8s Cluster using Terraform.
📌Note: For this lab, I created VMs Ubuntu 20.04 Standard_D2s_v3.
📝Log in to the Azure Management Console
Using your credentials, make sure you're using the right Region. In my case, I am using the region East US available in my Cloud Playground Sandbox.
📌Note: You can also use the VSCode tool or from your local PowerShell to connect to Azure PowerShell
More information on how to set up it is on the link.
📝Prerequisites:
Update to PowerShell 5.1, if needed.
Install .NET Framework 4.7.2 or later.
Visual Code
Web Browser (Chrome, Edge)
📝Setting an Azure Storage Account to Load PowerShell
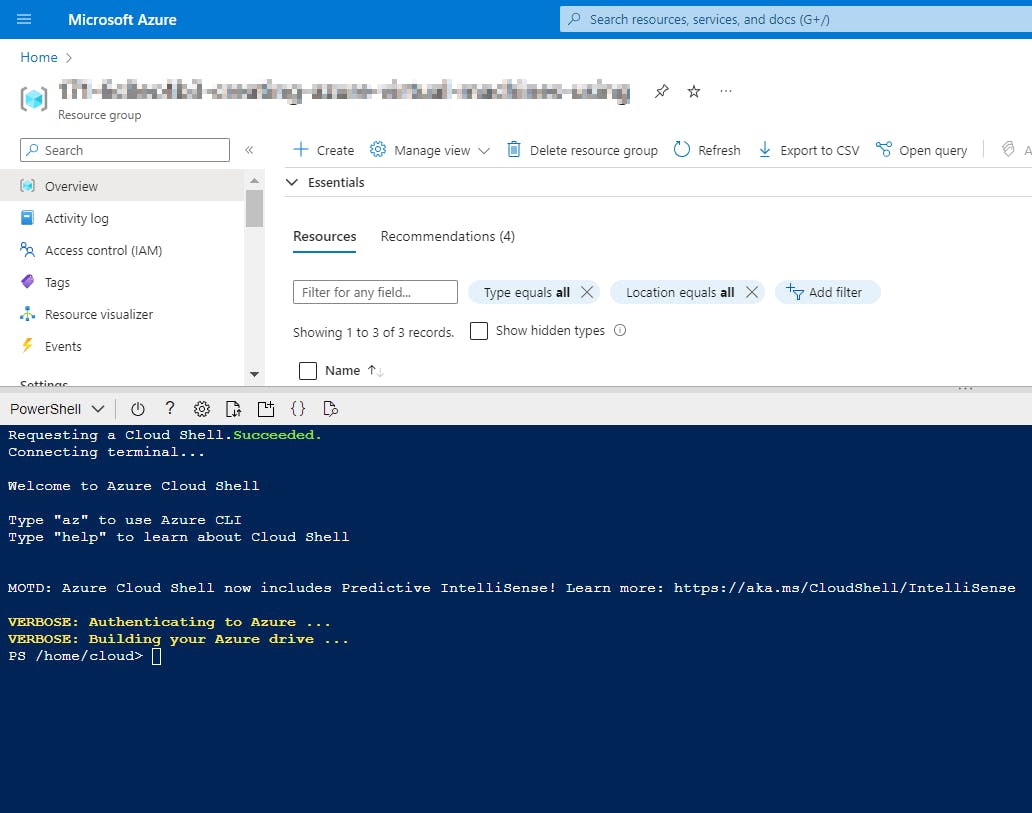
- Click the Cloud Shell icon
(>_)at the top of the page.

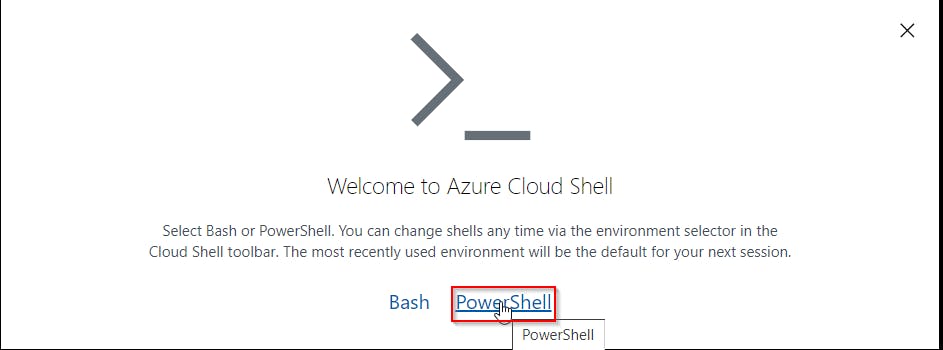
- Click PowerShell.
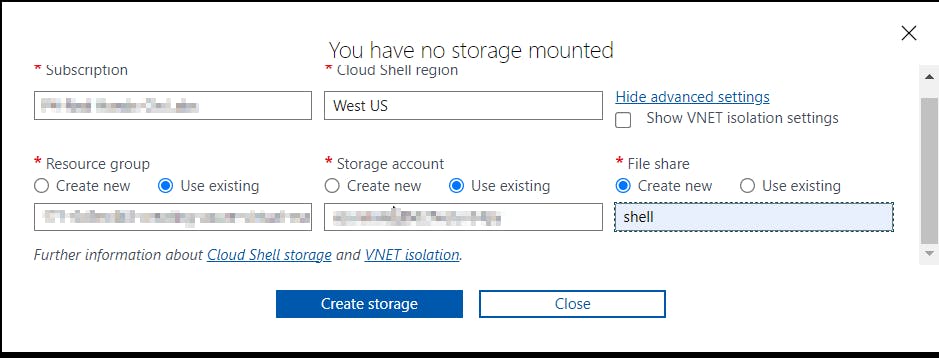
- Click Show Advanced Settings. Use the combo box under Cloud Shell region to select the Region. Under Resource Group and Storage account(It's a globally unique name), enter a name for both. In the box under File Share, enter a name. Click ***Create storage (***if you don't have any yet).
📝Set Up Terraform Environment
You can fork this repo supporting you on this creation.
Install Terraform on your local machine if you haven't already. You can download it and follow the installation instructions.
Set up your Azure credentials by creating a service principal or using Azure CLI.
📝Prepare Terraform Configuration Files
Create a directory for your Terraform configuration.
Inside the directory, create the following files:
main.tf - Contains the main Terraform configuration
rg.tf - Contains the existing Resource Group name that will be imported
output.tf - Contains the output from some resources
📝Initialize Terraform
Open a terminal and navigate to the directory where you saved your Terraform configuration files.
Run the following command to initialize Terraform:
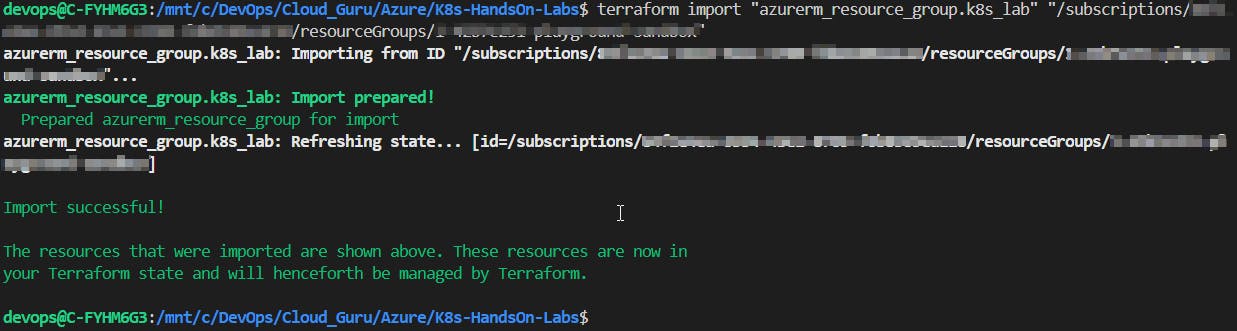
terraform initIn case, you already have a resource group created in your subscription, you can follow the same procedure that I used:
 #To check in Azure the info for the existing resource group. Follow the instructions highlighted on the terminal.
 az login
 #To import the existing resource group
 terraform import "azurerm_resource_group.<name_rg>" "/subscriptions/<TenantId>/resourceGroups/<existing_resource_group_name>"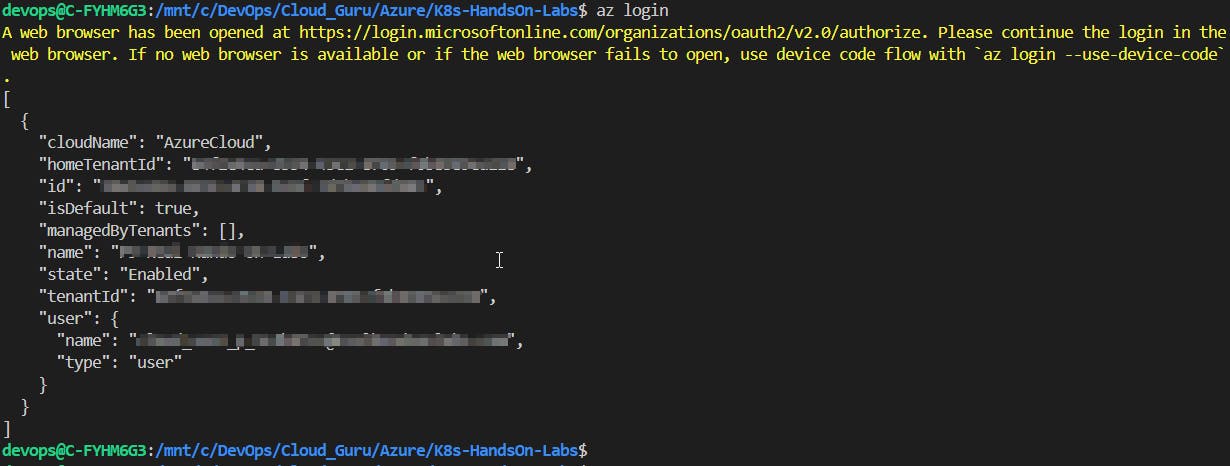
After initialization, run the following commands to validate the code and preview the changes Terraform will make:
 terraform validate
 terraform plan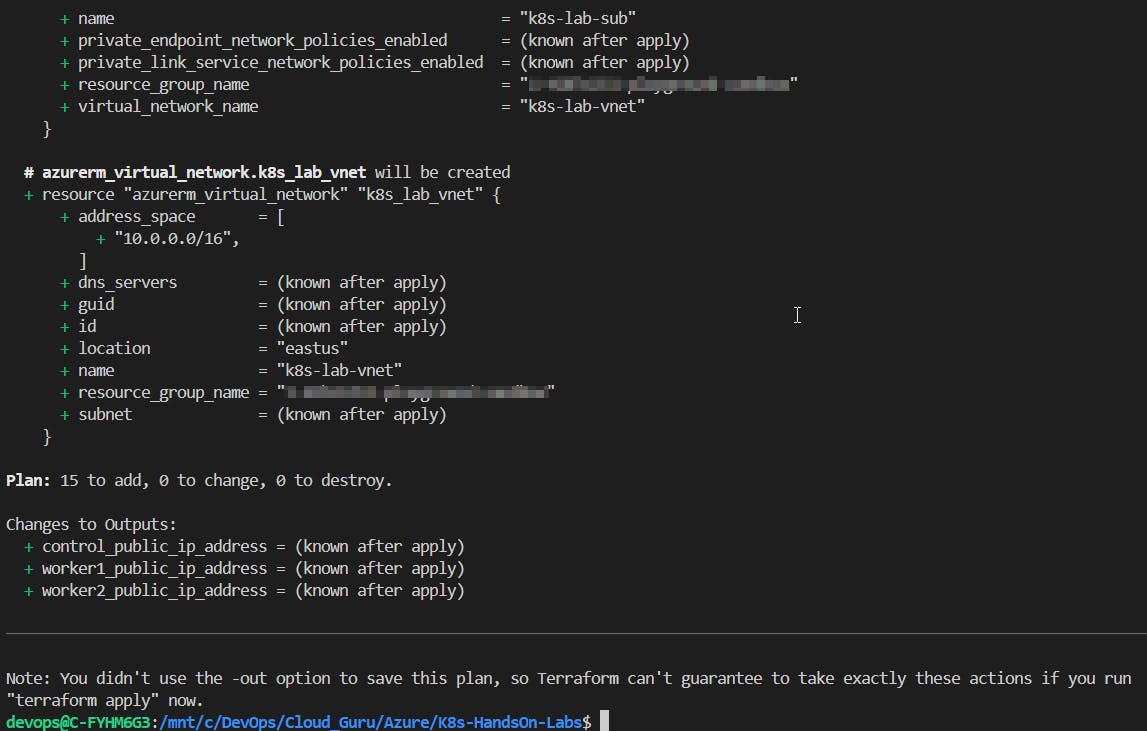
If the plan looks good, apply the changes by running:
terraform apply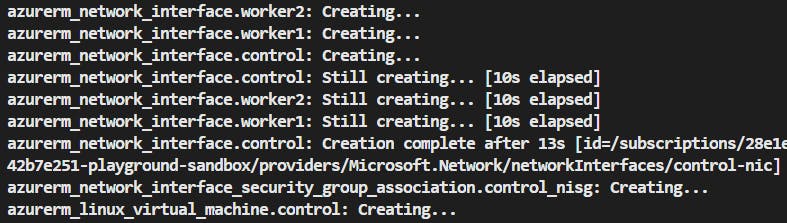
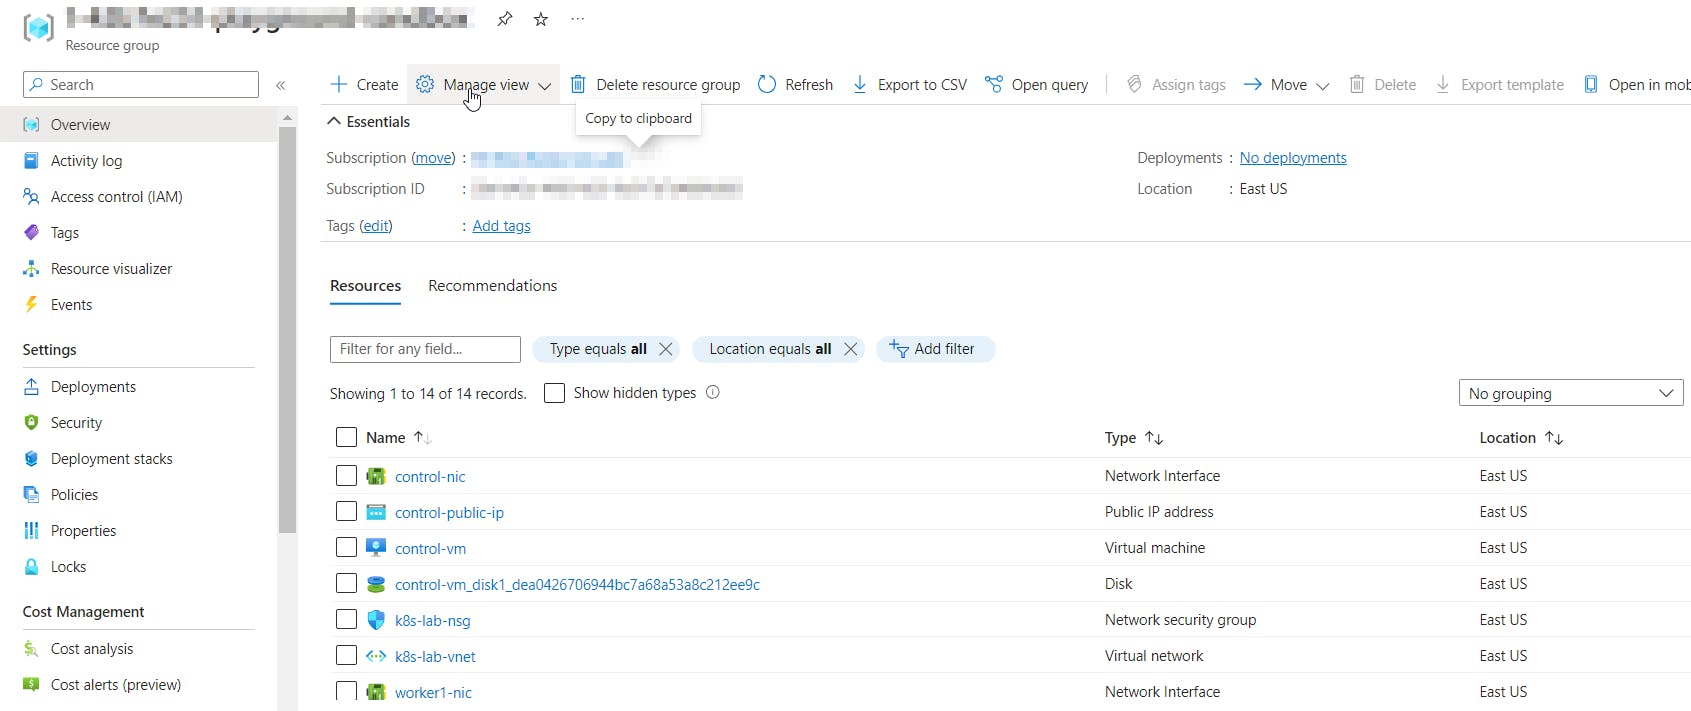
📝Access Instances
Once Terraform finishes deploying the infrastructure, you can access the instances using SSH. Here are the commands:
ssh <user_name>@<control_public_ip>
ssh <user_name>@<worker1_public_ip>
ssh <user_name>@<worker2_public_ip>
📝Building K8s Cluster
- We already added some settings to each VM during its creation adding a bootstrapping custom data, using the following scripts:
#Applied on Control VM
custom_data = filebase64("./azure-user-data-control.sh")
#Applied on Workers VM
custom_data = filebase64("./azure-user-data-workers.sh")
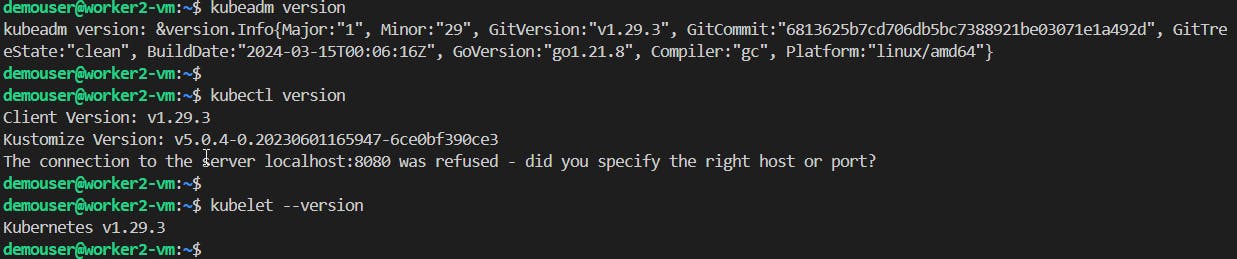
Checking if main settings were applied to each VM correctly. First, log in to each VM and then run the following commands:
 kubeadm version
 kubectl version
 kubelet --version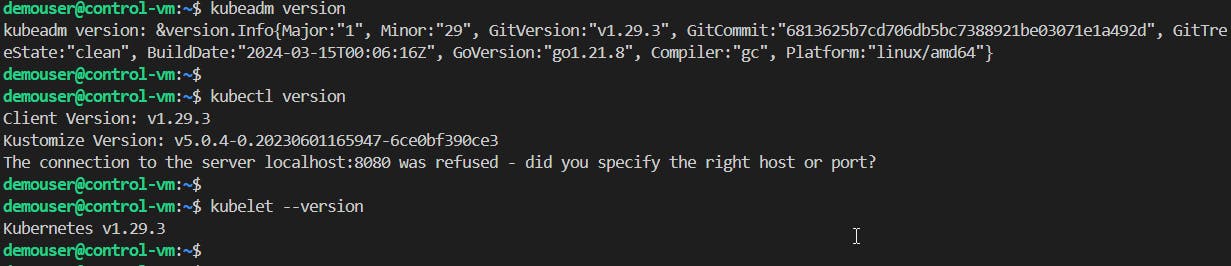

On all nodes, set up the hosts file to enable all the nodes to reach each other using these hostnames and their Private IP.
sudo vi /etc/hosts
📌Note: Ping each VM to test if they are reachable.
After reviewing the above settings, let's perform manual settings on the Control VM.
 #Only on the Control VM
 sudo kubeadm init --pod-network-cidr 192.168.0.0/16 --kubernetes-version 1.29.3
 mkdir -p $HOME/.kube
 sudo cp -i /etc/kubernetes/admin.conf $HOME/.kube/config
 sudo chown $(id -u):$(id -g) $HOME/.kube/config
📌Note: The status of the Control-plane node must be NotReady since no network plugin has already been added.

Add the Network add-on running the following command:
kubectl apply -f https://raw.githubusercontent.com/projectcalico/calico/v3.25.0/manifests/calico.yaml📌Note: The status of the Control-plane node must be Ready since the network plugin has already been added.

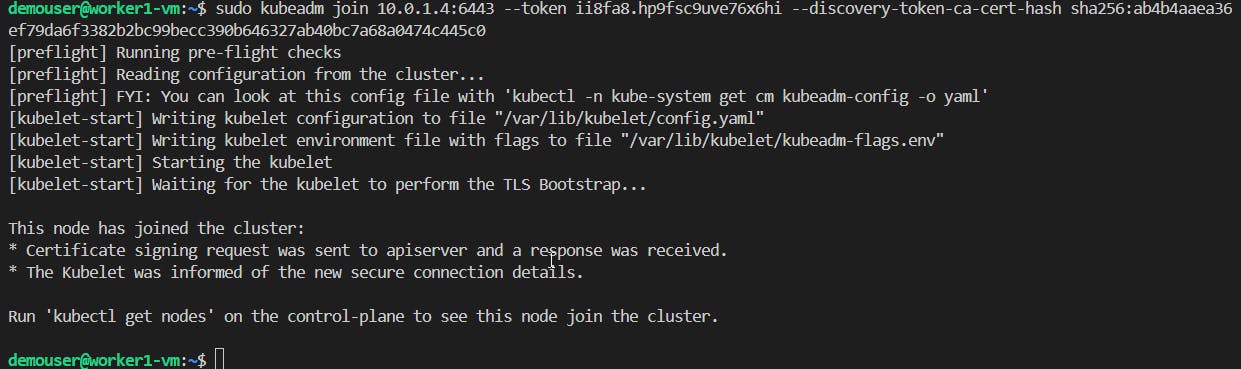
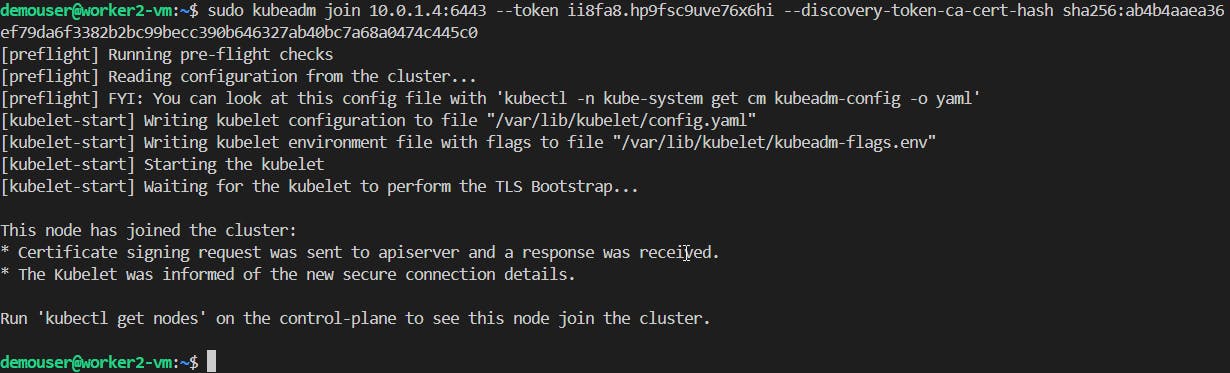
📝Adding Workers nodes to the Cluster
Copy the join info previously printout on the command
sudo kubeadm init --pod-network-cidr 192.168.0.0/16 --kubernetes-version 1.29.3and run on each Worker node.sudo kubeadm join 10.0.1.4:6443 --token ii8fa8.hp9fsc9uve76x6hi --discovery-token-ca-cert-hash sha256:ab4b4aaea36ef79da6f3382b2bc99becc390b646327ab40bc7a68a0474c445c0
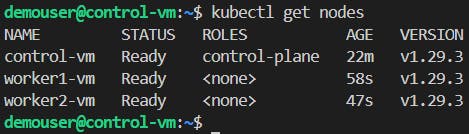
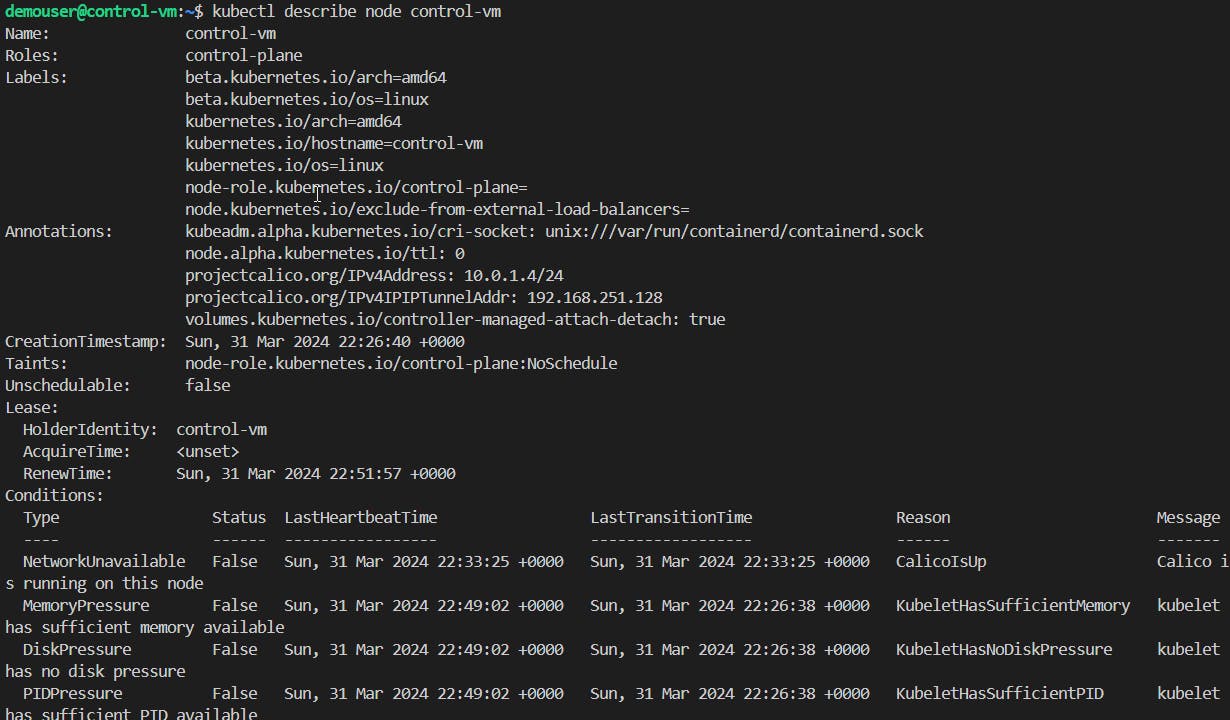
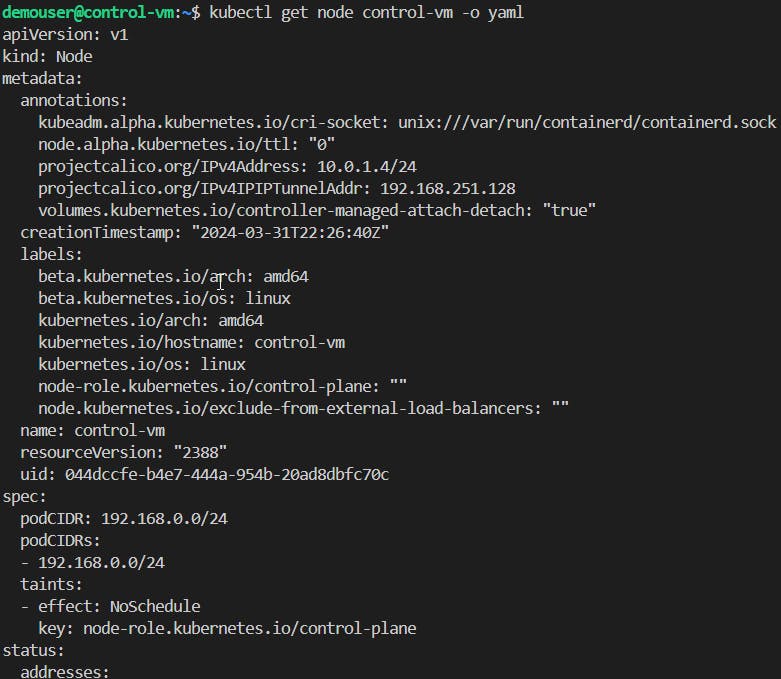
📝Checking some Cluster statuses
Run the following commands to check the Cluster statuses:
 #Check nodes
 kubectl get nodes

 #Default info view
 kubectl describe node <control-plane>

 #YAML format view
 kubectl get node <control-plane> -o yaml
📌Note - At the end of each hands-on Lab, always clean up all resources previously created to avoid being charged.
Congratulations — you have completed this hands-on lab covering the basics of Building a K8s Cluster on Azure VMs using Terraform to deploy them.
Thank you for reading. I hope you understood and learned something helpful from my blog.
Please follow me on Cloud&DevOpsLearn and LinkedIn, franciscojblsouza