

Azure Hands-On - Deploying a Web Application with AKS and ACR
Azure Learning Path for Cloud and DevOps Engineers

I have over 20 years of experience in IT Infrastructure and currently work at Microsoft as an Azure Kubernetes Support Engineer, where I support and manage the AKS, ACI, ACR, and ARO tools. Previously, I worked as a Fault Management Cloud Engineer at Nokia for 2.9 years, with expertise in OpenStack, Linux, Zabbix, Commvault, and other tools. In this role, I resolved critical technical incidents, ensured consistent uptime, and safeguarded against revenue loss from customers. Additionally, I briefly served as a Technical Team Lead for 3 months, where I distributed tasks, mentored a new team member, and managed technical requests and activities raised by our customers. Previously, I worked as an IT System Administrator at BN Paribas Cardif Portugal and other significant companies in Brazil, including an affiliate of Rede Globo Television (Rede Bahia) and Petrobras SA. In these roles, I developed a robust skill set, acquired the ability to adapt to new processes, demonstrated excellent problem-solving and analytical skills, and managed ticket systems to enhance the customer service experience.
My ability to thrive in high-pressure environments and meet tight deadlines is a testament to my organizational and proactive approach. By collaborating with colleagues and other teams, I ensure robust support and incident management, contributing to the consistent satisfaction of my customers and the reliability of the entire IT Infrastructure.
📝Introduction
In this hands-on lab, we walked through deploying a web application using Azure AKS and ACR.
📝Log in to the Azure Management Console
Using your credentials, make sure you're using the right Region. In my case, I am using the region France Central in my Cloud Playground Sandbox.
📌Note: You can also use the VSCode tool or from your local Terminal to connect to Azure CLI
More information on how to set it up is at the link.
📝Prerequisites:
Update to PowerShell 5.1, if needed.
Install .NET Framework 4.7.2 or later.
Visual Code
Web Browser (Chrome, Edge)
Azure CLI installed
Azure subscription
Docker installed
📝Setting an Azure Storage Account to Load Bash or PowerShell
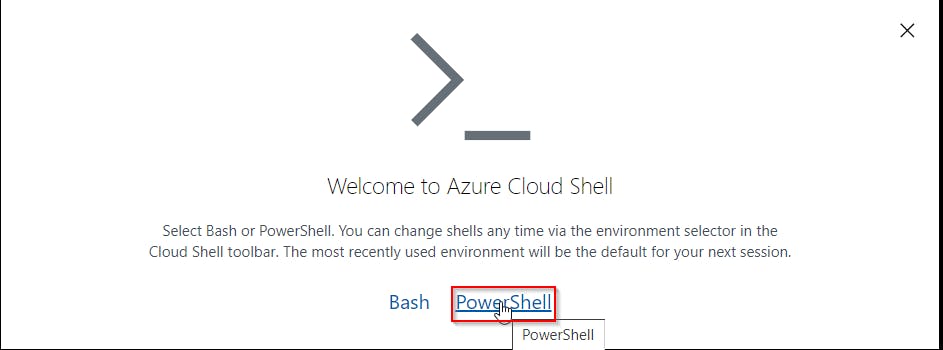
- Click the Cloud Shell icon
(>_)at the top of the page.

- Click PowerShell.
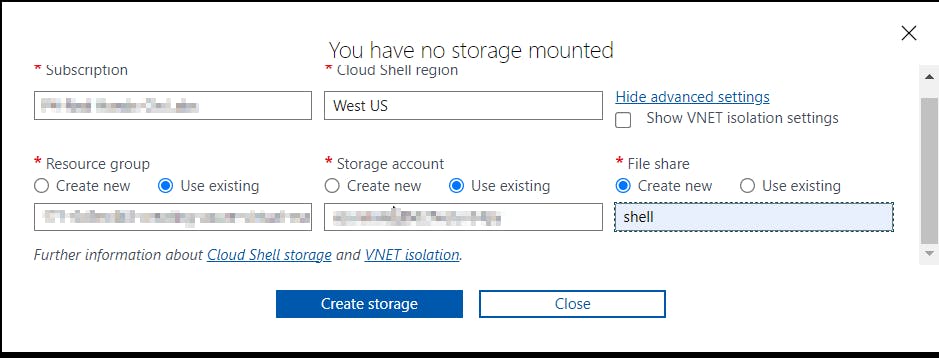
- Click Show Advanced Settings. Use the combo box under Cloud Shell region to select the Region. Under Resource Group and Storage account(It's a globally unique name), enter a name for both. In the box under File Share, enter a name. Click ***Create storage (***if you don't have any yet).
📝Set up your Azure AKS environment
Login to Azure:
az login
Set the subscription (if you have multiple):
az account set subscription <your-subscription-id>
📝Create a Resource Group
az group create --resource-group <nameResourceGroup> --location <region>


📝 Create an Azure Container Registry (ACR)
az acr create --resource-group <nameResourceGroup> --name <nameContainerRegistry> --sku Basic


📝 Build and Push Docker Image to ACR
Login to ACR:
az acr login --name <nameContainerRegistry>Create a Dockerfile
Create an
Dockerfilein-your-project directory. Here’s an exampleDockerfilefor a simple Nginx HTML webpage:FROM nginx:alpine COPY index.html /usr/share/nginx/htmlBuild Docker image:
docker build -t <nameapp>:v1 .
Tag the Docker image:
docker tag <nameapp>:v1 <nameContainerRegistry>.azurecr.io/<nameapp>:v1
Push the Docker image to ACR:
docker push <nameContainerRegistry>.azurecr.io/<nameapp>:v1


📝Create an AKS Cluster
az aks create -g <nameResourceGroup> -n <nameAKSCluster> --node-count 1 --generate-ssh-keys --attach-acr demoacrx1

📝 Connect to AKS Cluster
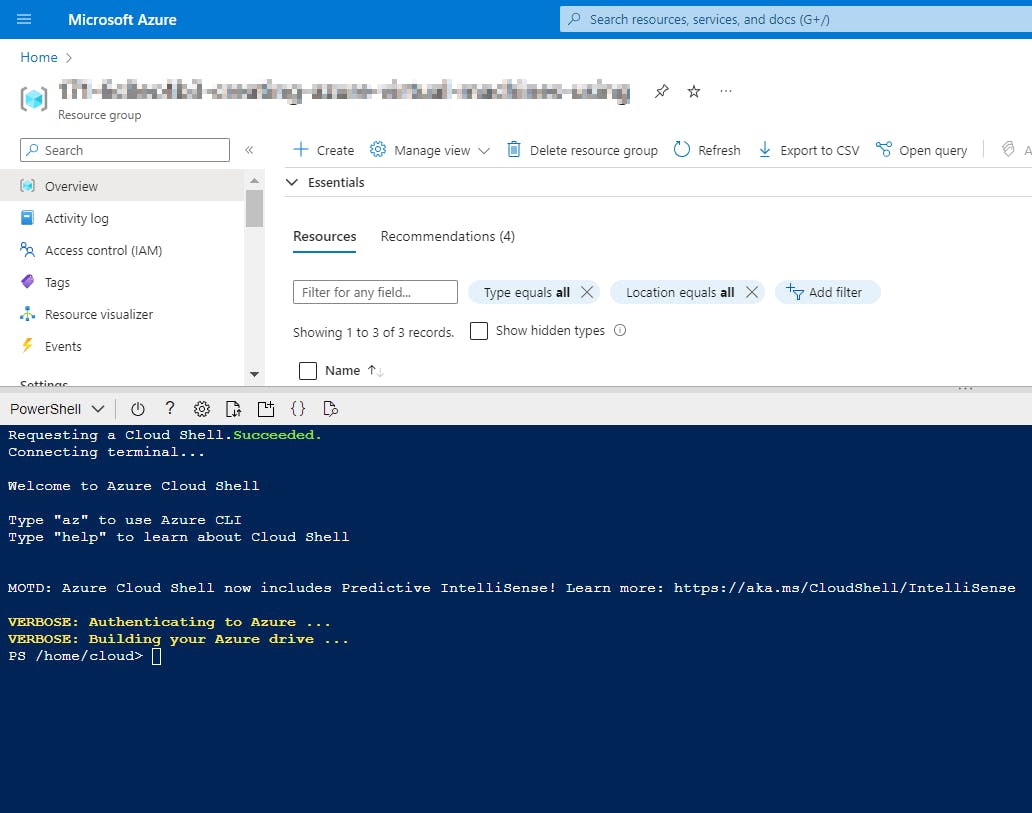
Use the Azure Cloud Shell to check your AKS Cluster resources, by following the steps below:
Go to Azure Dashboard, and click on the Resource Group created for this Lab, looking for your AKS Cluster resource.

On the Overview tab, click on Connect to your AKS Cluster.

A new window will be opened, so you only need to open the Azure CLI and run the following commands:
az login
az account set subscription <your-subscription-id>
az aks get-credentials -g <nameRersourceGroup> -n <nameAKSCluster> --overwrite-existing
- After that, you can run some Kubectl commands to check the default AKS Cluster resources.


📝Deploy the Application to AKS
Create a Kubernetes deployment yaml file (
deployment.yaml):apiVersion: apps/v1 kind: Deployment metadata: name: demoapp spec: replicas: 2 selector: matchLabels: app: demoapp template: metadata: labels: app: demoapp spec: containers: - name: demoapp image: demoacrx1.azurecr.io/demoapp:v1 ports: - containerPort: 8080 --- apiVersion: v1 kind: Service metadata: name: demoapp spec: type: LoadBalancer ports: - port: 80 targetPort: 8080 selector: app: demoappApply the deployment:
 kubectl apply -f deployment.yaml
 kubectl exec -it <namepod> -- curl localhost
Checking the resources created and running into the AKS Cluster:
 kubectl get pods
 kubectl get svc
 kubectl get deployment
 kubectl describe pod <namepod>


To check if the containers are loading correctly the Nginx HTML webpage, run the following command:
kubectl exec -it <namepod> -- curl localhost


📌Note - At the end of each hands-on Lab, always clean up all resources previously created to avoid being charged.
Congratulations — you have completed this hands-on lab covering the basics of Deploying a Web Application with Azure AKS and ACR.
Thank you for reading. I hope you understood and learned something helpful from my blog.
Please follow me on Cloud&DevOpsLearn and LinkedIn, franciscojblsouza


