

Azure Hands-On Labs - Creating Azure Storage and Transferring Data Using PowerShell
Azure Learning Path for Cloud and DevOps Engineers


📝Introduction
This post demonstrates this hands-on lab, we will be tasked with using PowerShell to create a storage account and storage container, taking files that reside on a Linux VM, and transferring them to an Azure Storage container.
To consider this hands-on lab complete, please complete the following:
Log in to the VM with the credentials provided and start PowerShell.
Install the Az module and log in to Azure with the credentials provided.
Create a new Azure Storage account.
Create a new Azure storage container within that storage account.
Download the PNG file to your local workstation (
wgethttps://sample-videos.com/img/Sample-png-image-1mb.png).Transfer the file into the previously created storage container.
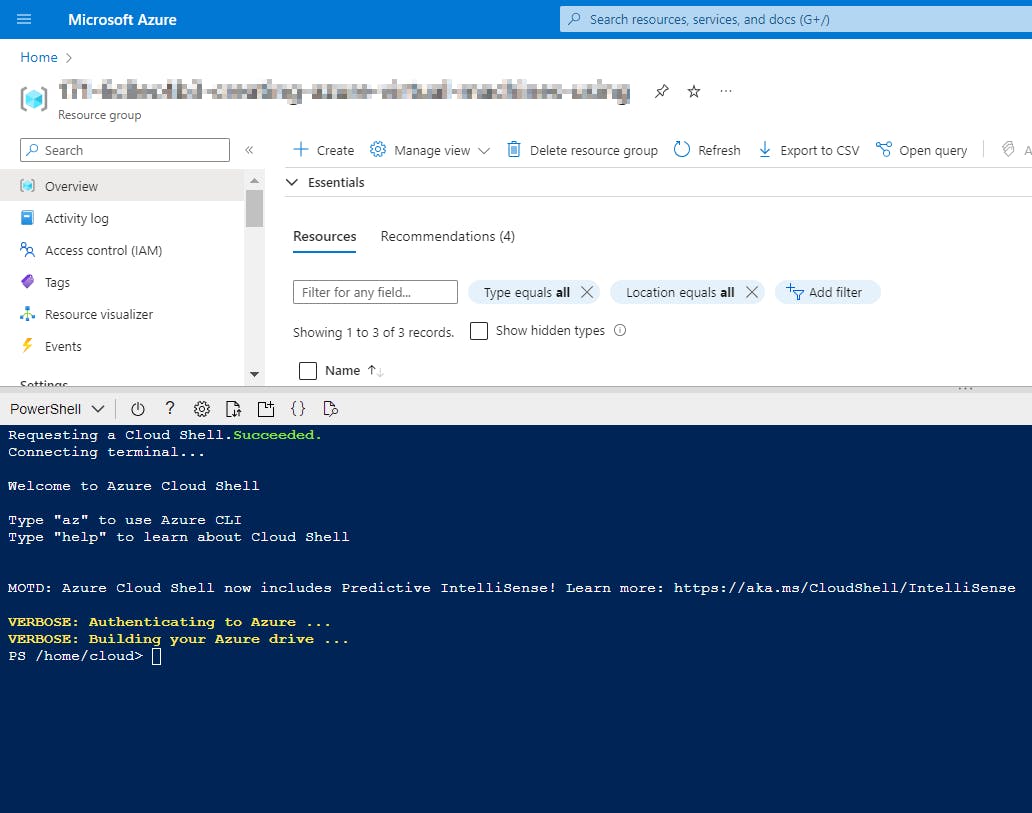
📝Log in to the Azure Management Console
Using your credentials, make sure you're using the right Region. In my case, I am using west-us.
📌Note: You can also use the VSCode tool or from your local PowerShell to connect to Azure PowerShell
More information on how to set up it is on the link.
📝Prerequisites:
Update to PowerShell 5.1, if needed.
Install .NET Framework 4.7.2 or later.
Visual Code
Web Browser (Chrome, Edge)
📝Setting an Azure Storage Account to Load PowerShell
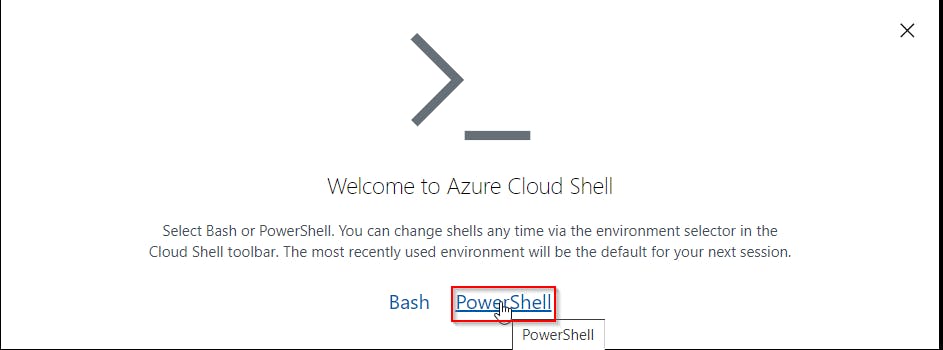
- Click the Cloud Shell icon
(>_)at the top of the page.

- Click PowerShell.
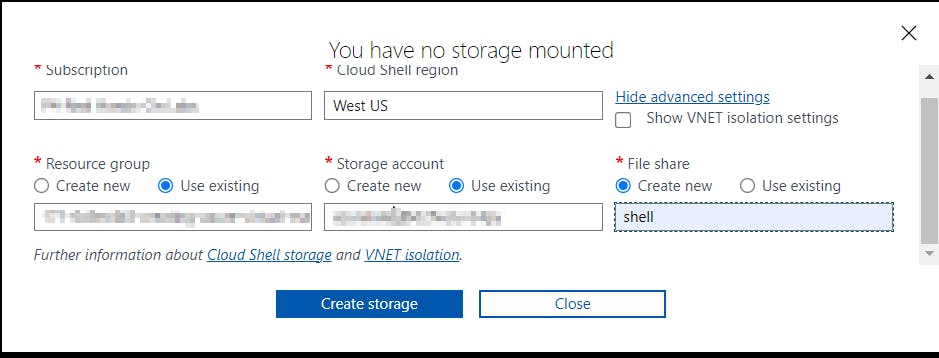
- Click Show Advanced Settings. Use the combo box under Cloud Shell region to select the Region. Under Resource Group and Storage account(It's a globally unique name), enter a name for both. In the box under File Share, enter a name. Click ***Create storage (***if you don't have any yet).
📝Log in to the Linux VM
Open a terminal. Copy your public IP address. Connect to the VM via SSH using the public IP:
ssh <user_name>@<PUBLIC_IP_OF_THE_VM>
#Once logged in, start the PowerShell prompt:
pwsh
📌Note: I have created a Linux VM for this Lab.
📝Install the Az Module and Connect to Azure
Install the module:
Install-Module -Name Az -AllowClobber -Scope CurrentUser
Enter Y to continue installing from the PowerShell gallery. It will take a couple of minutes to finish.

From the PowerShell prompt, connect to Azure:
Connect-AzAccount
In the browser, navigate to https://microsoft.com/devicelogin.
Enter the code provided in the terminal.
Enter the Azure Portal username and password.

📝Create the Storage Account and Container
Create the variable $location and set it to westus:
$location = "westus"
#Get the resource group name:
Get-AzResourceGroup
Copy the resource group name in the output.
Create the variable $resourceGroup and assign it to the resource group name you just copied:
$resourceGroup = '<RESOURCE_GROUP_NAME>'
Create the storage account, making sure to replace <UNIQUE_STORAGE_ACCOUNT_NAME> with a globally unique name:
$storageAccount = New-AzStorageAccount -ResourceGroupName $resourceGroup `
 -Name "<UNIQUE_STORAGE_ACCOUNT_NAME>" `
 -SkuName Standard_LRS `
 -Location $location
Set the storage context (a reference to the correct storage account):
$ctx = $storageAccount.Context
Create the $containerName variable:
$containerName = "<container_name>"

📌Note: Before performing next step, you must enable the option "Allow Blob anonymous access" on your Storage Account. By default, is disabled, and keeping it set will fail in the next step.


Create the storage container:
New-AzStorageContainer -Name $containerName -Context $ctx -Permission blob


📝Copy the File into the Storage Container
Download the file:
wget https://sample-videos.com/img/Sample-png-image-1mb.png
Transfer the file to the newly created storage container:
Set-AzStorageBlobContent -File "./Sample-png-image-1mb.png" `
  -Container $containerName `
  -Blob "Sample-png-image-1mb.png" `
  -Context $ctx
List the blobs in the container:
Get-AzStorageBlob -Container $containerName -Context $ctx | select Name
We should see the Sample-png-image-1mb.png file.


📌Note - At the end of each hands-on Lab, always clean up all the resources previously created to avoid being charged.
Congratulations — you have completed this hands-on lab covering the basics of Creating Azure Storage and Transferring Data Using PowerShell.
Thank you for reading. I hope you understood and learned something helpful from my blog.
Please follow me on CloudDevOpsToLearn and LinkedIn, franciscojblsouza