


Azure Hands-On Labs - Creating Azure Standard Load Balancers with PowerShell
Azure Learning Path for Cloud and DevOps Engineers


📝Introduction
This post demonstrates this hands-on lab, where we walk through using Azure PowerShell to create an Azure Standard Load Balancer. This beginner-level hands-on lab covers several concepts, including the following.

Creating variables to store key parameters. Identifying the proper cmdlets to create a frontend IP configuration, backend address pool, health probe, Load Balancer rule configuration, and NAT rules. Creating the Azure Standard Load Balancer using the correct parameters.
This hands-on lab uses the Azure Cloud Shell, so there's no need to install any software if you prefer.
📝Log in to the Azure Management Console
Using your credentials, make sure you're using the right Region. In my case, I am using west-us.
📌Note: You can also use the VSCode tool or from your local PowerShell to connect to Azure PowerShell
More information on how to set up it is on the link.
📝Prerequisites:
Update to PowerShell 5.1, if needed.
Install .NET Framework 4.7.2 or later.
VisualCode
Web Browser (Chrome, Edge)
📝Setting an Azure Storage Account to Load Powershell
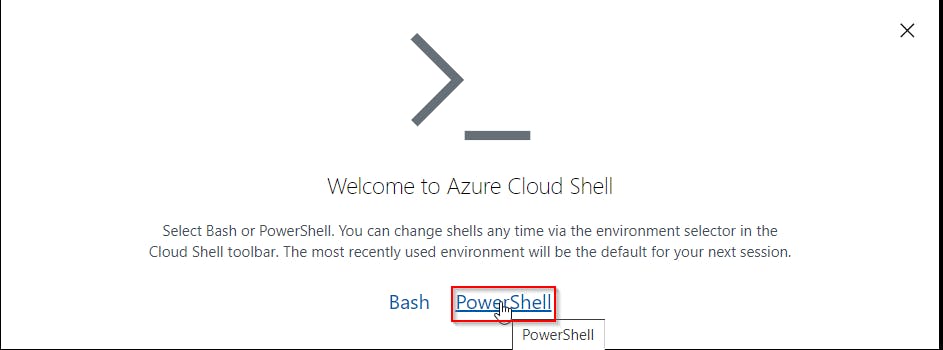
- Click the Cloud Shell icon
(>_)at the top of the page.

- Click PowerShell.
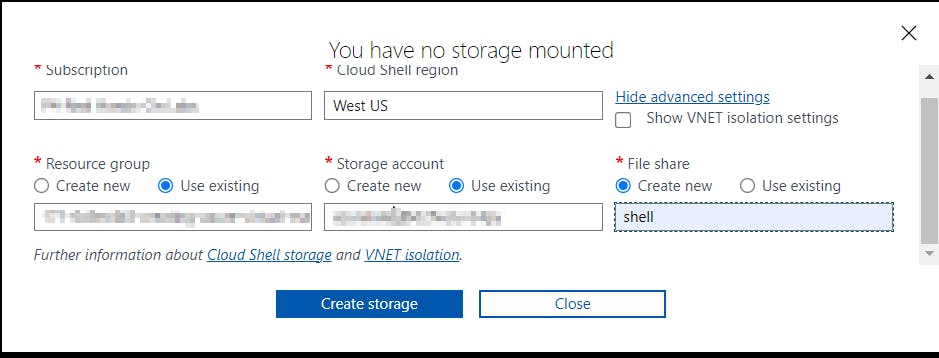
- Click Show Advanced Settings. Use the combo box under Cloud Shell region to select the Region. Under Resource group and Storage account(It's a globally unique name), enter a name for both. In the box under File share, enter a name. Click Create storage (if you don't have any yet).
📝Creating Azure Standard Load Balancers with PowerShell
Identify the current resource group:
    Get-AzResourceGroup
    #Copy the value for the ResourceGroupName parameter to the clipboard.
    #This will be referred to as RESOURCE_GROUP_NAME for the rest of this guide.
Set variables to Resource Group and Location:
  $resourcegroup = '<name_resource_group>'
  $location = '<region_name>'
Create the Public IP address:
  $publicIP = New-AzPublicIpAddress `
  -ResourceGroupName $resource `
  -Name 'DemoPublicIp' `
  -Location $location `
  -AllocationMethod static `
  -Sku Standard
Create the frontend IP configuration:
$feip = New-AzLoadBalancerFrontendIpConfig -Name 'DemoFrontEndPool' -PublicIPAddress $publicIPCreate the backend address pool:
$bepool = New-AzLoadBalancerBackEndAddressPoolConfig -Name 'DemoBackEndPool'Create the health probe:
  $probe = New-AzLoadBalancerProbeConfig `
  -Name 'DemoHealthProbe' `
  -Protocol Http `
  -Port 80 `
  -RequestPath / `
  -IntervalInSeconds 360 `
  -ProbeCount 5

Create the Load Balancer rule:
  $rule = New-AzLoadBalancerRuleConfig `
  -Name 'DemoLoadBalancerRuleWeb' `
  -Protocol Tcp `
  -Probe $probe `
  -FrontendPort 80 `
  -BackendPort 80 `
  -FrontendIpConfiguration $feip `
  -BackendAddressPool $bepool
Create the necessary NAT rules:
  $natrule1 = New-AzLoadBalancerInboundNatRuleConfig `
  -Name 'myLoadBalancerRDP1' `
  -FrontendIpConfiguration $feip `
  -Protocol tcp `
  -FrontendPort 4221 `
  -BackendPort 3389

  $natrule2 = New-AzLoadBalancerInboundNatRuleConfig `
  -Name 'myLoadBalancerRDP2' `
  -FrontendIpConfiguration $feip `
  -Protocol tcp `
  -FrontendPort 4222 `
  -BackendPort 3389

  $natrule3 = New-AzLoadBalancerInboundNatRuleConfig `
  -Name 'myLoadBalancerRDP3' `
  -FrontendIpConfiguration $feip `
  -Protocol tcp `
  -FrontendPort 4223 `
  -BackendPort 3389
Create the Azure Standard Load Balancer:
  New-AzLoadBalancer `
  -ResourceGroupName $resource `
  -Name 'DemoLoaBalancer' `
  -Sku Standard `
  -Location $location `
  -FrontendIpConfiguration $feip `
  -BackendAddressPool $bepool `
  -Probe $probe `
  -LoadBalancingRule $rule `
  -InboundNatRule $natrule1,$natrule2,$natrule3
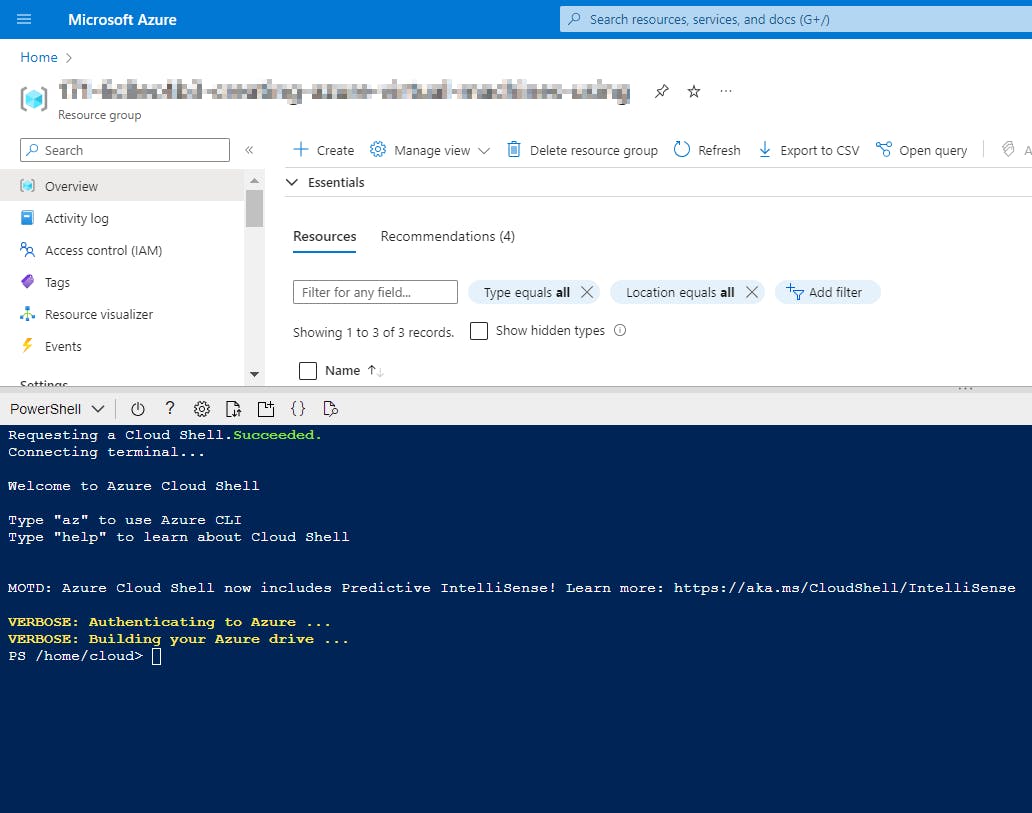
You can also check on the Azure Management Console the resources created.


📌Note - At the end of each hands-on Lab, always clean up all the resources previously created to avoid being charged.
Congratulations — you have completed this hands-on lab covering the basics of Azure Creating Azure Standard Load Balancers with PowerShell tool.
Thank you for reading. I hope you understood and learned something helpful from my blog.
Please follow me on CloudDevOpsToLearn and LinkedIn franciscojblsouza